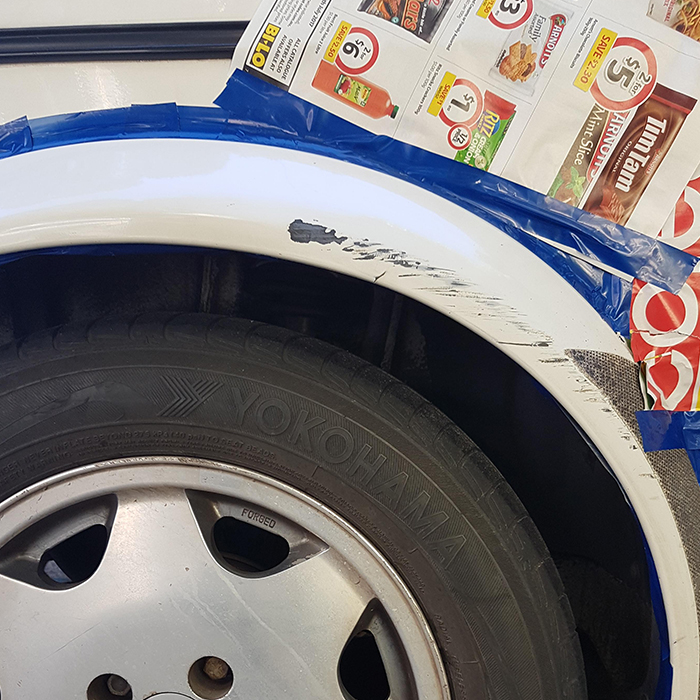
My Mk1 has the 'Clipper' factory installed body kit. This kit has flared plastic wheel arches, one of which had a significant scrape across it.
This is how I prepped and repainted it.
You'll need
You'll need to clean the damaged area of any dirt or grease. I used eucalyptus oil, but most car cleaners will work.
If possible, try to isolate a whole section of the car. Starting masking off areas beginning at join lines. In my case, only the front of the arch was damaged, but I intended to repaint the whole thing to avoid any obvious cut off marks.
Use 500 grit sandpaper to sand down the paint and raised parts around the damaged area. You want to get rid of any raised areas and smooth out any holes so that they do not have sharp edges.
You will also need to lightly sand the rest of the panel you are painting, even the parts that are not damaged. This feels wrong to sand undamaged paint, but it will provide a porous surface for the new paint to 'grip' on to.
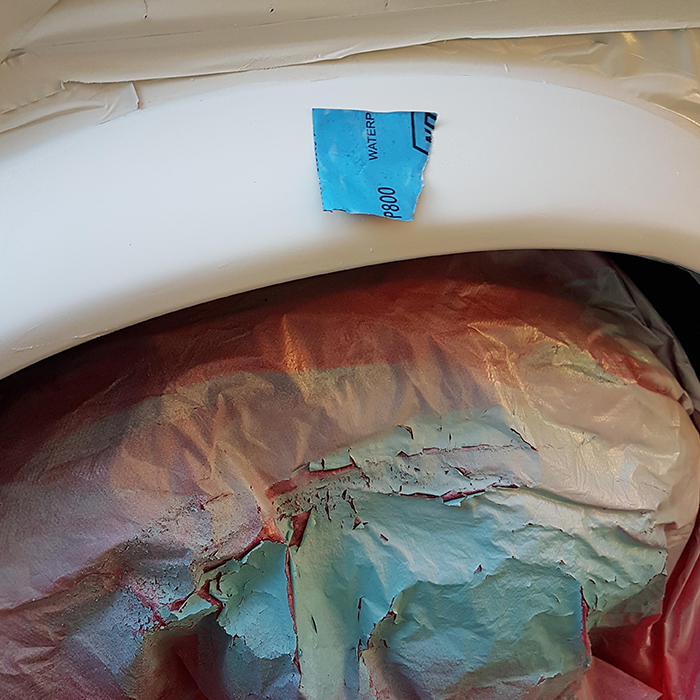
Use a bucket of water to rinse your sandpaper every now and again so it doesn't get clogged up with paint fragments.
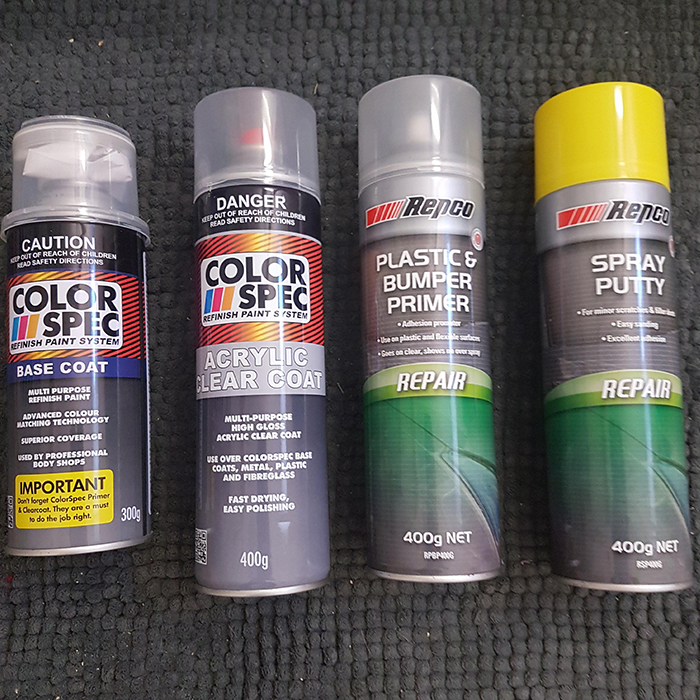
Spray on the primer. Note, there is a special primer used for plastic car parts. The primer I got was also clear.
It's important to follow the instructions on the side of the can regarding drying time. In my case, using Repco Plastic and Bumper primer, I was to shake the can for 1 minute, and apply a coat every 10 mins before finally letting it dry for 20 mins.
Spray putty is good for evening out minor indentations. I still needed to use a small amount of body filler for the larger scrape, but the putty helped smooth everything else out.
Again, follow the instructions on the can. Mine was Repco Spray Putty - shake for 1 min, 5 mins drying time between coats, allowing for a 1 hour final drying time.
The putty comes out a little sputtering and thick. That's OK as it will get sanded down later.
Once finished with the can hold it upside down and spray until nothing but air comes out. This will prevent the nozzle from becoming clogged.

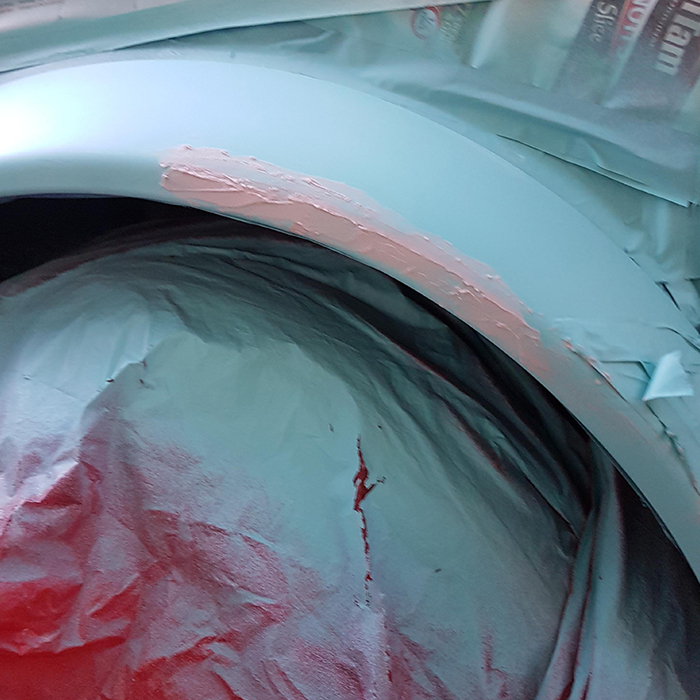
For the bigger scrape area I had to apply a little body filler. I bought some plastic applicator paddles to scrape it on.
Body filler comes with a separate tube of catalyst that, when combined with the filler, makes it harden. Generally, you apply one part of catalyst to every 50 parts of filler, so only a few droplets at a time.
Mix the filler and catalyst on a plastic try (or in my case a take away container lid) using an applicator paddle. It's important you 'fold' the mixture over its self, not stir it in, so you don't get any air bubbles in the mixture.
Once mixed enough so that the mixture is all the same colour, apply it to the damaged area with the applicator. Smear it into the gaps in an even and steady manner. Don't worry about applying too much, you can sand it back later.
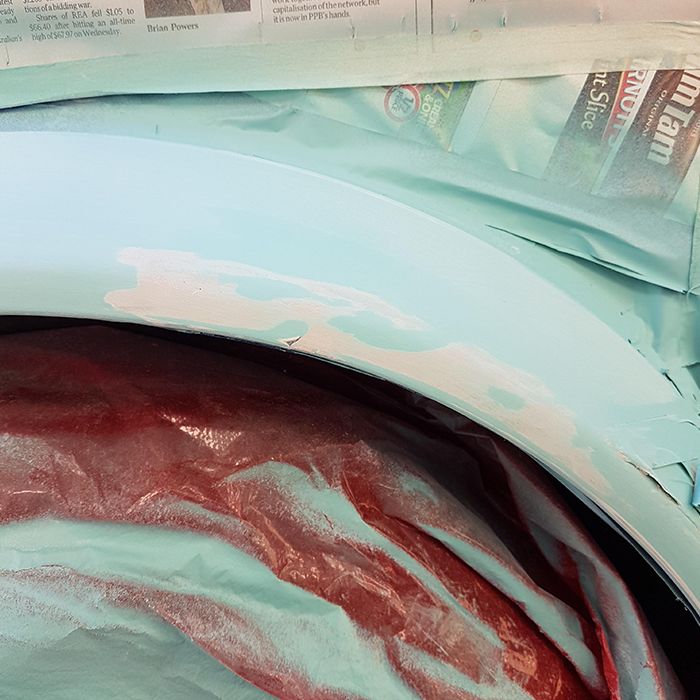
Using your 500 grit sand paper, start sanding down the body filler and putty. You can use an orbital sander or a sanding block for this, but I just did it by hand due to the curvature of the wheel arch.
Continuously compare the angle you are sanding, making sure you aren't creating any low areas. If you find you've sanded too hard in one area, use the spray putty to build it back up.
Wet sanding is good here, as it unclogs the sandpaper as you go.
After cleaning the area with water to remove any dust from sanding, I applied another few layers of primer to allow the base coat paint to stick.
For the base paint, it is very important to follow the instructions on the can. My paint was from Color Spec and it's instructions were to shake for a full 5 mins, waiting 15 mins between coats and 40 mins before applying clear coat. Final drying time was 24hrs. I used a timer for each step.
The can says to spray from a distance of 20cm away, however the temperature in your area can affect this. I found that I had to move closer to about 10cm as the paint hardened in the air before hitting the surface and appeared splotchy. Do some test runs on some cardboard or other surface.
Apply the paint using steady, even strokes, over spraying onto the newspaper at each end. Try to move your hand at the same speed for each pass - you don't want a build up of paint in any one area that could cause runs.
After 40mins (or whatever is specified on your can) check the paint. It may have an orange peel affect where it looks a little bumpy. That's OK - it's hard to not get this affect with DIY aerosol painting. Use your highest grit (at least 800) sand paper to 'polish' off the orange peel, so you get a smooth, even finish. It's OK if the paint is not shiny too - that's what the clear coat is for. Remember to turn the can upside down and spray out the remaining paint to clear the nozzle at the end of each session.
In the end I repeated the above process 3 times, just to be sure I was getting it right.
Like the base paint, it's very important to follow the can's instruction carefully. My Color Spec can instructed me to shake for 5 mins, and wait 20 - 30 mins between coats.
Again, I experimented with spray distance to get as smooth and glossy effect as possible. Due to it being a hotter day, I had to move in a little closer than what the can suggested.
I repeated the steps above, same as the base coat paint.
The clear coat too can get orange peel, so, again, I 'polished' it with high grit sandpaper.
I added 3 coats, letting it dry 40mins between each coat.
After I let the clear coat and base paint dry for 24hrs I went over the guard with a cut and polish compound to remove any remnant of the orange peel affect.
I think it came up looking pretty good.


How did a 50 year old Australian family wagon end up in India?

If I were to walk into any Toyota dealership anywhere in the world what could I buy?

How did this obscure Aussie sports car come to star in an Hong Kong action movie?