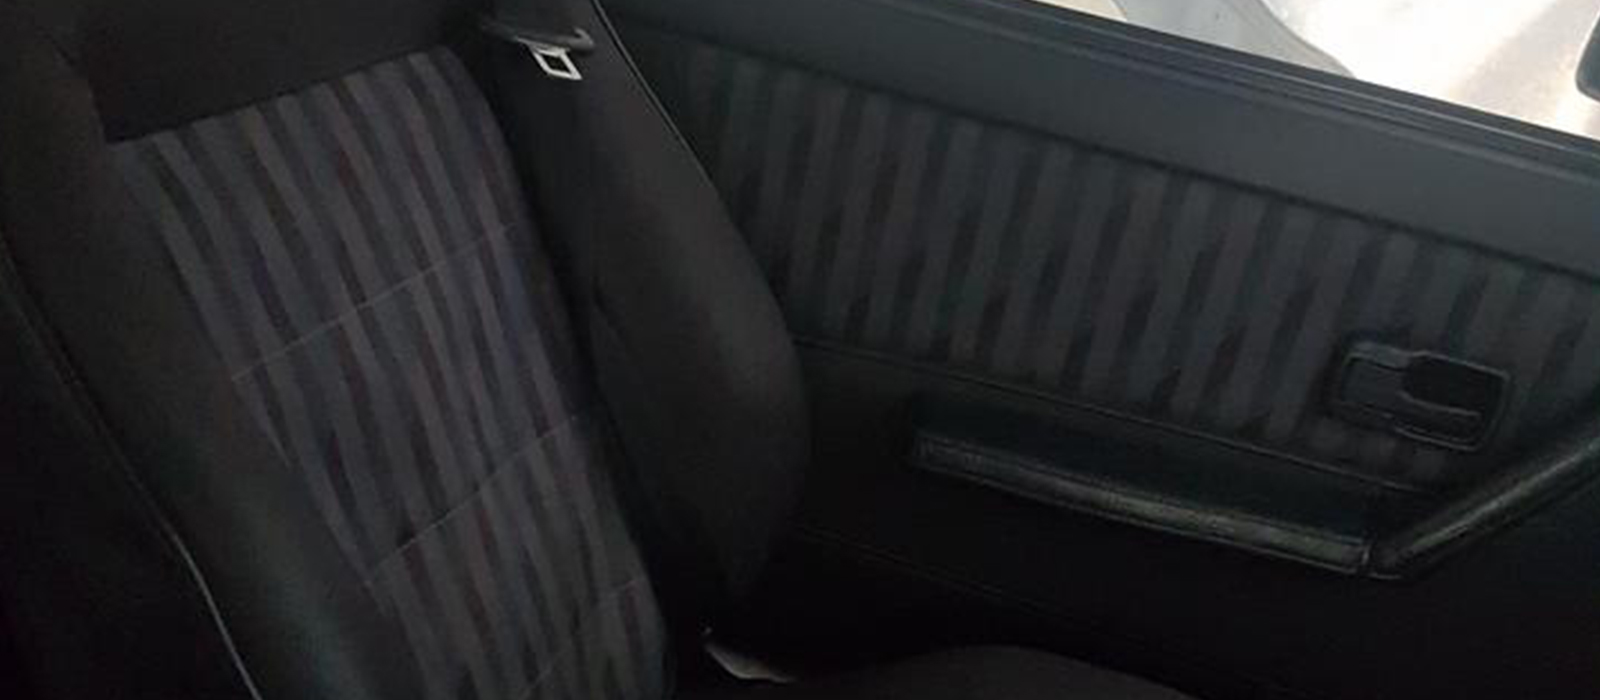
Very straight forward job - just be careful not to damage the fabric on the door card.
This is just for looks. If possible wind both windows down and observe the position and angle of the crank on the door opposite to the one you're working on. This is just so you can match the position on the crank you're replacing.
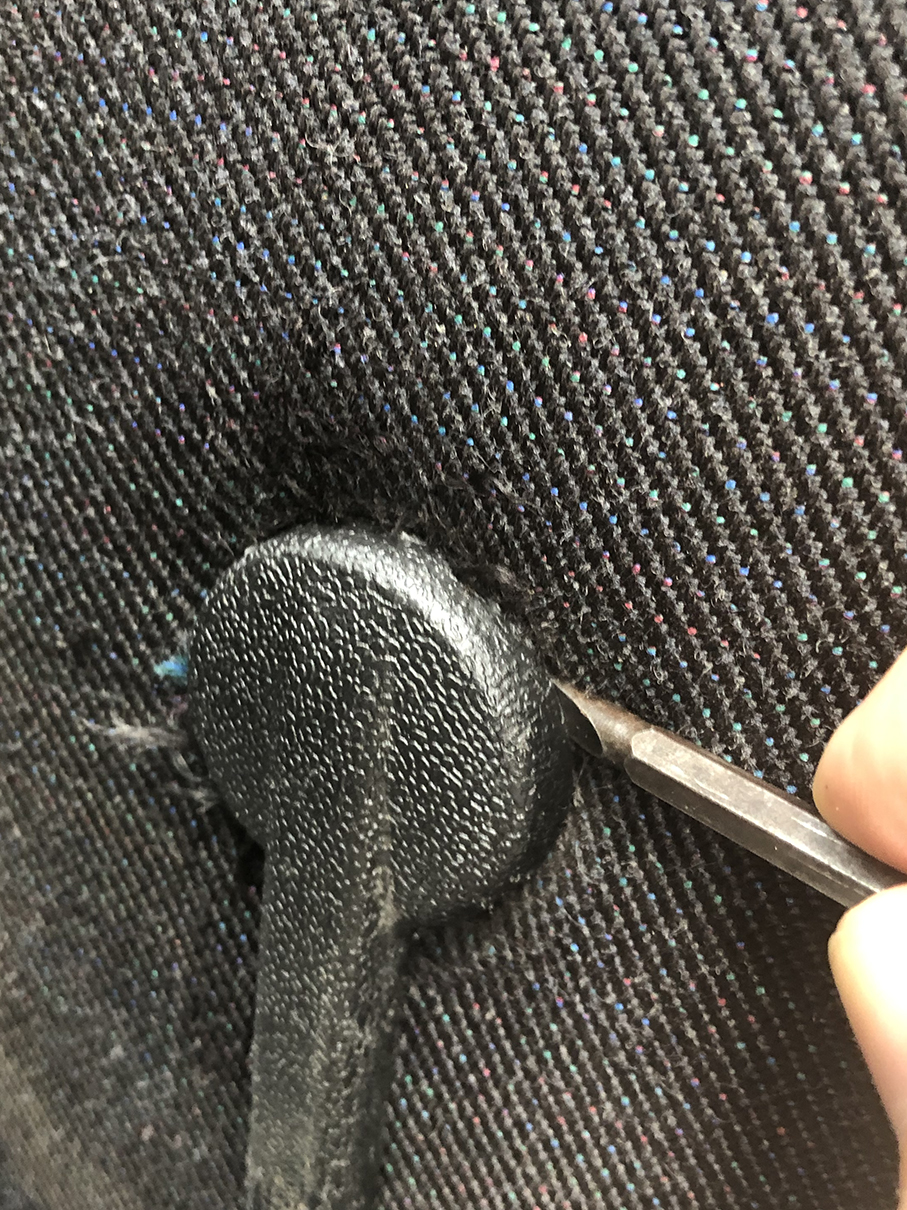
The plastic surrounding the winder is just clipped into place. Use a flat head screw driver to lever it off around the base of the crank to expose the screw holding it in place. Be careful not to damage the cloth on the door card. The plastic will not separate from the winder completely as the handle part of the crank cannot be removed.
Note: Some winders have a cover that unclips. to reveal the screw.
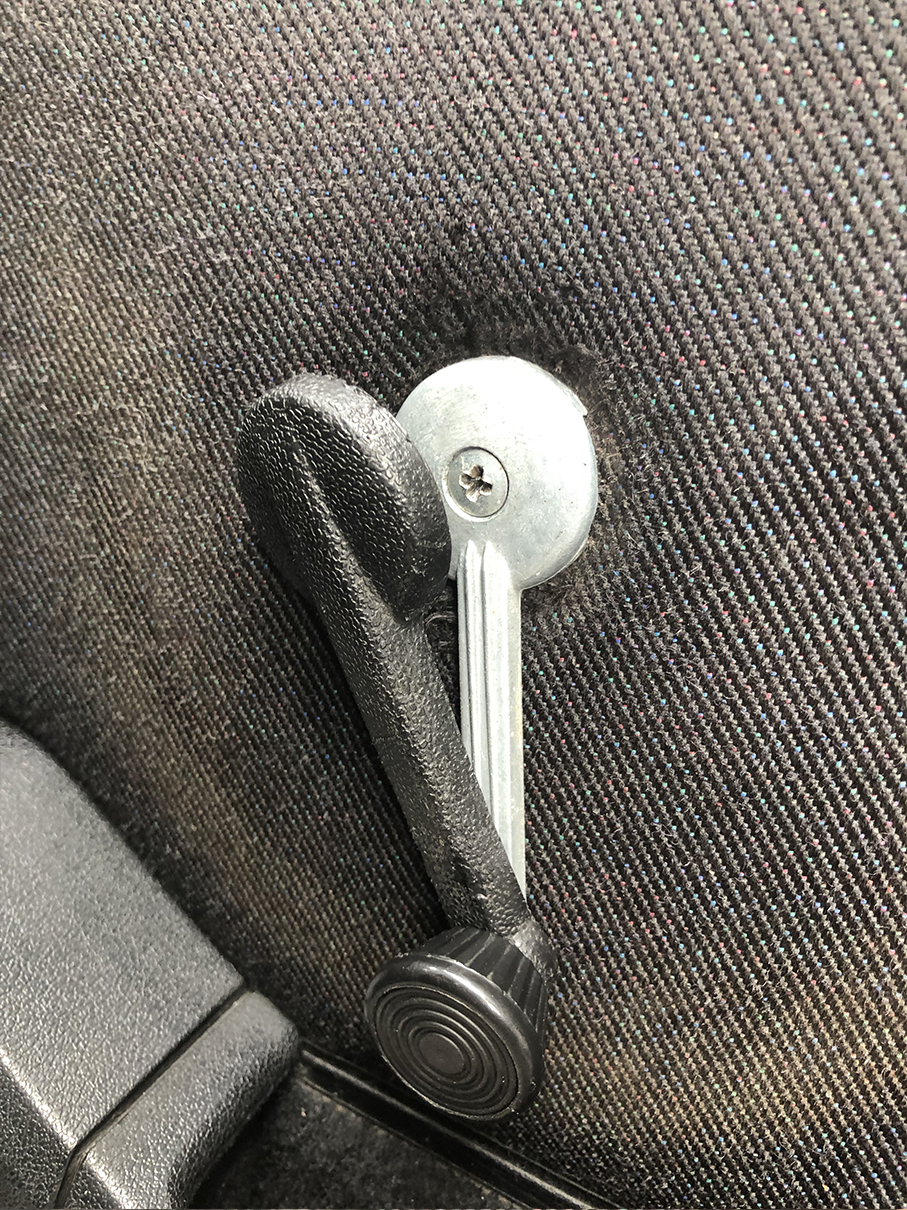
Simply unscrew the winder at the crank with a Philips head screw driver. It's good to have the windows in the down position so you're not actually winding the window as you're turning the screw.
Just the reverse of above. Position the new crank inline with the crank on the opposite door and tighten the screw. Ensure that the new winder does not scrape against the door card and fabric. If it does, back off the screw a little or consider trimming the plastic on the crank.

Looking for a Mk1 Golf project that is both unique and historical? This could be the car for you.
 new today")
So you want a classic car without the hassle of dealing with 30-plus odd years of issues? Here's 10 "classic" cars you can buy in near new condition today.

How easy is it to daily drive a 30+ year old Honda? Does Honda's famous reliability live up? Review of a 1988 Honda Accord
